

Create and set up a Valheim server
With this guide, you'll set up your own Valheim server that runs around the clock – even when you're offline. Your friends can join from the server list, via “Join IP”, or with a crossplay code, and the world backs itself up automatically.
What you need
- Valheim for you and your players (Steam, Xbox, Game Pass or other platforms with crossplay).
- A plan with at least 4 GB RAM. For large worlds or many players, more is worthwhile.
- Optional: an existing world you want to bring along.
1. Choose Valheim when you buy
- Open the configurator and choose your plan.
- In the Game section, choose the Valheim card and complete the order.
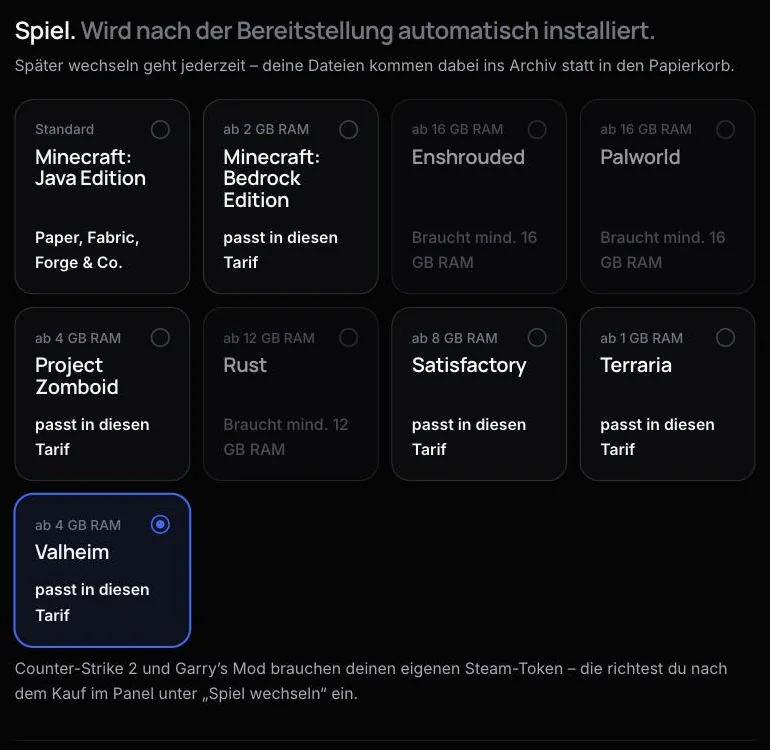
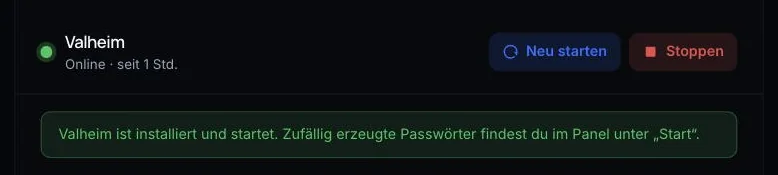
After provisioning, AeonHost installs Valheim and starts the server. The Server Password is generated at random so that no unauthorised person can get into your world. Quick controls in the customer area show you when everything is ready.
2. Set name, password and world
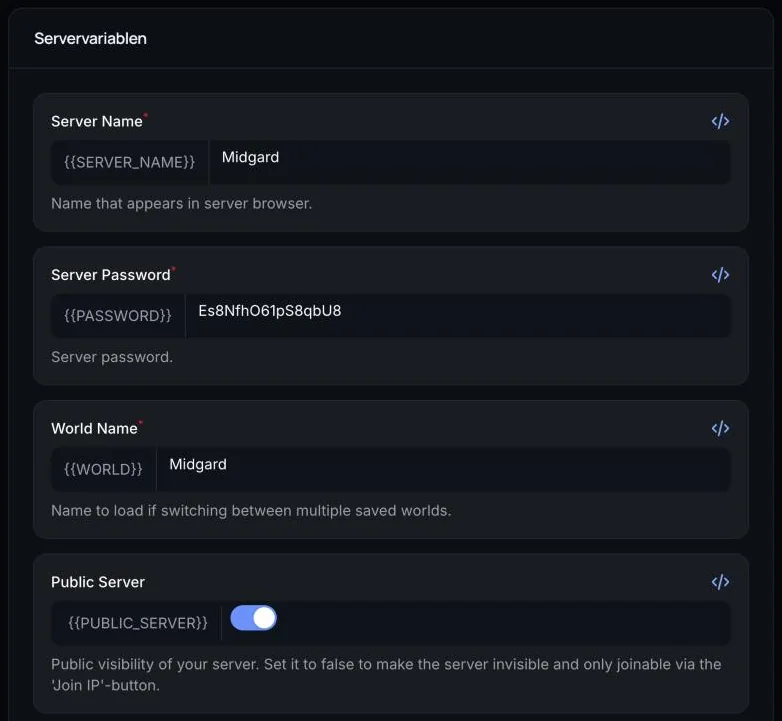
On your server's page in the customer area, click Open in Panel and choose Startup on the left. The most important Server variables:
- Server Name – the name in the server list.
- Server Password – the password for joining (5 to 20 characters). The randomly generated password is shown here; you can replace it with your own.
- World Name – the name of the world. If no world with this name exists yet, Valheim creates a new one.
- Public Server – on: the server appears in the public list. Off: it can only be reached via “Join IP”.
- Enable Crossplay – on: players on Xbox and other platforms can join too.
- Auto Update – downloads the latest server version at startup. Keep it on so that server and game match after a Valheim update.
Further down, you'll find the storage and backup fields (Backup Interval, Backup Count, Backup Shorttime, Backup Longtime). The default values suit most servers. Restart the server after every change – only then do the new values take effect.
3. Connect to the server
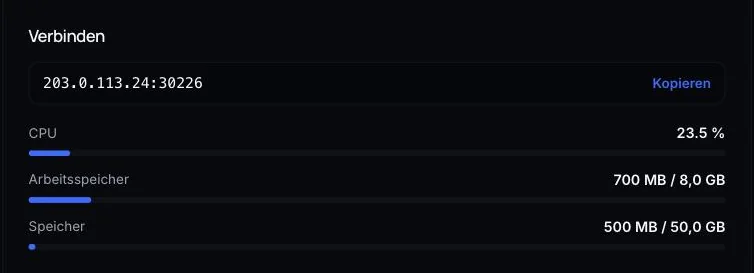
The address of your server is shown on the Connect card in Quick controls. Valheim uses your game port and the port directly above it; AeonHost assigned both during setup, so you don't need to open anything.
There are three ways to reach the server:
- Server list: in the game, search for your Server Name under Join Game (this works when Public Server is on).
- Join IP: under Join Game, click Join IP and enter the address from the Connect card, i.e. the IP and game port. Then enter the password. This also works for servers that aren't public.
- Crossplay code: anyone who is already connected sees the Join code in the pause menu – one click copies it. Friends on other platforms go to Join Game, choose Add server and paste the code. Requirement: Enable Crossplay must be on.
Tip: after a restart, wait about a minute. “Game server connected” appears in the console as soon as the server is reachable.
4. Upload your own world
Want to keep playing your single-player or previous server world? Stop the server, upload the world files under Files or via SFTP, and enter the world's name under World Name. The guide Transferring a Valheim world to the server explains which files you need exactly and where they belong.
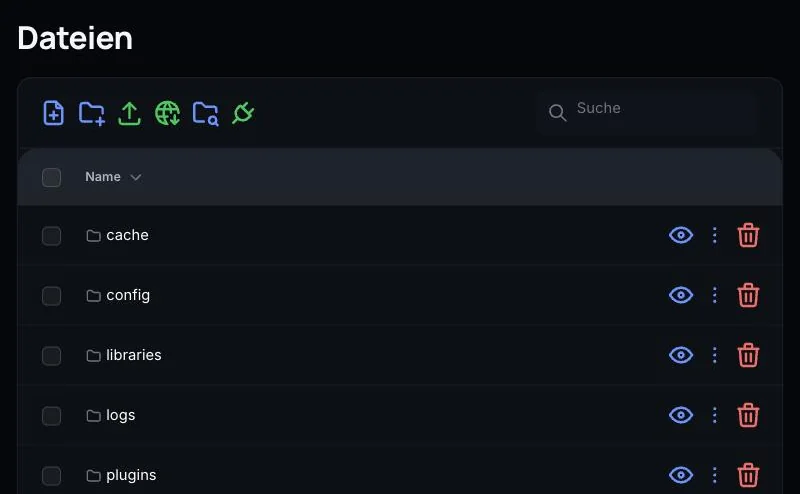
Make a backup beforehand if the server already has a world you want to keep.
5. Admins and bans
You manage admins, banned players and allowed players through lists in the server's save folder. How the entries look and where to find the player ID is explained in Valheim admin and ban list.
6. Backups and daily restart
In addition to the automatic Valheim backups, you can create a full server backup at any time: in Quick controls with Back up now, or in the panel under Backups. On the same card, you can set a daily restart for a time of your choice – handy for installing updates while nobody is playing.
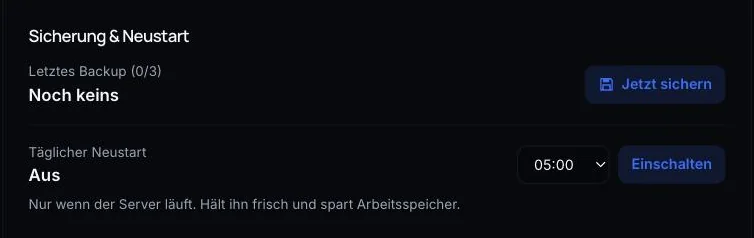
More on this: Managing Valheim backups and world saves.
Common problems
The server doesn't appear in the server list
Check that Public Server is on, and after starting, wait until “Game server connected” shows up in the console. Using Join IP is almost always quicker.
The password isn't accepted
Copy the password exactly from the Server Password field under Startup. It must be 5 to 20 characters long. If you've changed it, restart the server.
A new world starts instead of yours
The World Name doesn't match the uploaded files, so Valheim creates a new world. Check the names and folders using this guide.
A friend on Xbox can't get in
Enable Crossplay must be on, and he needs the current Join code from the pause menu. On Xbox, crossplay also has to be allowed in the console settings.
The version doesn't match after a Valheim update
Keep Auto Update on and restart the server. It will then download the new server version.
Further reading
Did this guide help? We are happy to help personally.